
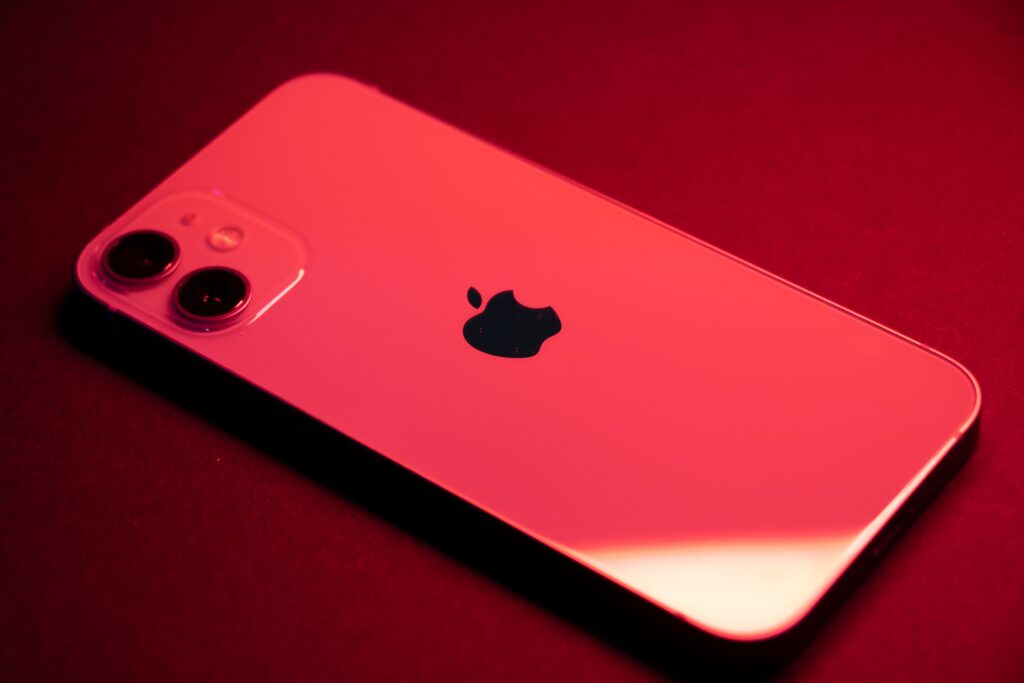
You’re packing for your trip, digging through the junk drawer for that little SIM-eject tool, and then it hits you: your iPhone doesn’t have a SIM slot anymore. No tray. No pinhole. Nothing.
If you just upgraded to an iPhone 15 or 16 in the U.S., this moment is basically a rite of passage. And yes, the first reaction is usually a small wave of panic — how am I supposed to get service abroad if I can’t even put a SIM card in?
Take a breath. You’re not stuck, and you haven’t done anything wrong. Your phone is simply eSIM-only, and once you understand what that actually means, traveling with it is arguably easier than the old SIM-card shuffle ever was. This guide walks you through exactly what to do before you fly, so you land with data instead of a dead phone and a Wi-Fi-only airport map.
Quick answer, if you’re short on time
- Your U.S. iPhone 15 or 16 has no physical SIM tray — it’s eSIM-only, by Apple’s design.
- You can absolutely use it abroad. You just need an eSIM plan (from your carrier, a local provider, or a travel eSIM company) instead of a physical card.
- Most travelers get the best results by keeping their home eSIM active for calls/texts/iMessage and adding a travel eSIM for data.
- Your phone needs to be unlocked if you want to use anything other than your home carrier abroad — check this before you buy anything.
- Set everything up before you leave the U.S., not after you land.
Why your iPhone 15 or 16 has no SIM tray
This isn’t a bug or a weird manufacturing choice — it’s intentional. Apple has confirmed that iPhone models without a SIM tray support eSIM only, and that iPhone 14 models and later, when purchased in the United States, can only be activated using an eSIM. That applies to the iPhone 15 lineup too: U.S. iPhone 15 and 15 Plus models use eSIM technology and simply aren’t compatible with a physical SIM card at all.
One important nuance worth knowing: this is a U.S. purchase thing. iPhones bought outside the U.S. may still come with a physical SIM tray, depending on the country. So if a friend hands you their iPhone 15 from Europe or Asia and it still has a card slot, that’s normal — it doesn’t mean your information is wrong. It just means Apple’s eSIM-only rule is tied to where the phone was originally sold, not the model itself.
Can you still use your iPhone abroad without a physical SIM?
Yes — completely. eSIM is not a downgrade, and it’s not some workaround. It’s the same cellular service, just stored digitally on your phone instead of on a removable card. You can activate a new plan, switch carriers, and add international coverage entirely through your Settings app.
The catch isn’t whether it works. It’s that you need to actually plan for it, because you can’t just grab a SIM card at a kiosk when you land like you might have in the past. The good news: once you know your options, this takes about ten minutes to sort out.
Your 3 main options for staying connected internationally
Most U.S. travelers with an eSIM-only iPhone are choosing between three paths:
1. Your U.S. carrier’s international roaming plan The simplest option on paper — you just keep using your existing line abroad. It’s also usually the most expensive per gigabyte, and pricing varies a lot by carrier and country, so check your specific plan before assuming it’s a good deal.
2. A local carrier eSIM You buy an eSIM from a carrier in the country you’re visiting, either online before you go or, in some countries, in person. This can be cheap, but setup and customer support can be trickier when you don’t speak the language or aren’t familiar with the provider.
3. A travel eSIM / global provider These are eSIM plans built specifically for travelers, covering one country or dozens of them. You install them before you leave, and they’re usually data-only, not full phone service. This is where most people traveling with an eSIM-only iPhone end up, because it’s fast to set up and doesn’t require canceling or changing anything with your home carrier.
If you’re comparing options for a specific destination, it’s worth checking [destination-specific eSIM guides] before you commit, since pricing and coverage quality really do vary country to country.
The easiest setup for most U.S. travelers
If you want the simplest possible version of this that still works well, here it is:
- Keep your home eSIM active so your U.S. number, iMessage, and FaceTime keep working.
- Add a travel eSIM and use it as your data line.
- Turn off cellular data (or roaming specifically) on your home eSIM so you’re not accidentally charged for using it abroad.
- Set your travel eSIM as the line used for data in your cellular settings.
Apple’s supported iPhones can run two eSIMs at once and can store eight or more on the device, so you don’t have to choose one permanently — you can toggle between them or run both simultaneously with the setup above. This is essentially what Apple means when it says travelers can use one eSIM for their home line and another for wherever they’re visiting.
This is a good spot to compare travel eSIM plans for your destination before you fly — prices and data allowances vary more than you’d expect.
What to do before you leave the U.S.
This is the part that actually matters. Set this up at home, on Wi-Fi, with time to troubleshoot — not at the gate.
Pre-departure checklist:
- Confirm your iPhone is unlocked (Settings > General > About > Carrier Lock — look for “No SIM Restrictions”)
- Update to the latest iOS version
- Decide if you need to convert your physical SIM to eSIM (only relevant if you’re switching from a phone that had one, or moving between two eSIM-capable devices)
- Buy and install your travel eSIM ahead of time — many can be installed before departure and simply activated on arrival
- Screenshot the activation instructions and QR code from your provider, in case you lose signal or Wi-Fi
- Test that you can access your carrier’s app and settings menu without needing data, in case you need to make changes on the go
Skipping the unlock check is the single most common mistake here. If your phone is locked to your home carrier, none of the local or travel eSIM options will work, no matter how good the plan is.
How to transfer your current SIM to eSIM
If you’re moving from an older iPhone with a physical SIM, or switching plans before your trip, Apple supports a few different ways to get an eSIM onto your phone:
- eSIM Quick Transfer — moves your existing plan from an old iPhone to a new one automatically during setup
- Converting a physical SIM to eSIM — some carriers let you do this directly in Settings
- QR code activation — scan a code from your carrier or travel eSIM provider
- Carrier app — many carriers now handle eSIM installation through their own app
- Carrier link or manual entry — a backup option if the others aren’t available
Which one you use depends entirely on your carrier and your specific situation, so it’s worth checking your carrier’s app or website for the exact steps — but all of these are supported paths on eSIM-capable iPhones.
How dual eSIM works while traveling
Here’s the part that trips people up: having two eSIMs active doesn’t automatically mean you’re safe from roaming charges. It depends on how you’ve set things up.
If your home eSIM is set to allow data roaming and it’s active while you’re using your travel eSIM, you can end up getting charged by your home carrier even though you meant to be using the travel plan. The safer setup is to let your travel eSIM handle data while your home eSIM stays on for calls and texts only, with its own data and roaming turned off. That way you keep your number reachable without quietly racking up charges in the background.
What people get wrong with eSIM-only travel
A few patterns show up again and again:
- Assuming the phone is unlocked without actually checking, then discovering the problem at the airport
- Waiting until landing to figure out eSIM setup, when there’s no reliable Wi-Fi to do it
- Confusing data-only eSIMs with full phone service — most travel eSIMs won’t give you a local phone number or calling minutes
- Leaving home roaming turned on by accident, which can lead to a surprise bill
- Expecting a physical “tourist SIM” workaround — with no tray, there’s no card to buy at the airport kiosk anymore
Best use cases by traveler type
- Short vacation (under 2 weeks): A single travel eSIM for your destination is usually enough — simple, cheap, no need to touch your home line’s settings.
- Long multi-country trip: Look for a travel eSIM with regional coverage instead of buying a new one at every border.
- Business travel: Keep your home eSIM fully active for calls and email continuity, and add a travel eSIM purely for data-heavy tasks.
- Remote work abroad: Prioritize data allowance and network reliability over price — you’ll want more headroom than a casual traveler.
- “I just want data, I don’t care about calls”: A data-only travel eSIM alone may be all you need, especially if you rely on Wi-Fi calling or apps like WhatsApp.
FAQ
Can I use my U.S. iPhone 15 or 16 internationally? Yes. It has no physical SIM tray, but it fully supports eSIM, which works the same way for international travel — you just need to install a plan digitally instead of inserting a card.
Do I need to convert my physical SIM to eSIM before travel? Only if you’re currently using a physical SIM and switching to a new eSIM-only device, or if your carrier requires it for plan changes. If you’re already on eSIM, there’s nothing to convert.
Can I keep my U.S. number while using a travel eSIM? Yes. Keep your home eSIM active for your number, and add a travel eSIM as a second line for data.
Will iMessage and FaceTime still work? Yes, as long as your home eSIM (tied to your Apple ID and phone number) stays active, iMessage and FaceTime will keep working over Wi-Fi or your travel eSIM’s data connection.
What if my phone is carrier locked? You won’t be able to activate another carrier’s eSIM until it’s unlocked. Contact your carrier before your trip if you’re not sure of your phone’s status.
Can I buy an eSIM before I leave? In most cases, yes — many travel eSIM providers let you purchase and install the eSIM profile in advance, then activate it once you land or connect to the local network.
The bottom line
No SIM tray isn’t a travel disaster — it just means the prep happens in an app instead of at a kiosk. Once you’ve confirmed your phone is unlocked, set up your home eSIM for your number, and installed a travel eSIM for data, you’re genuinely more flexible than travelers still juggling physical SIM cards. Handle it before you leave, and connectivity abroad becomes one less thing to think about on your trip.
Affiliate disclosure: This article may contain links to travel eSIM providers and related travel tools. If you make a purchase through one of these links, Linggoz may earn a small commission at no extra cost to you. We only recommend products we believe are genuinely useful for travelers.